Home
Our Services Team

All about plants,
for every space.

From lush indoor sanctuaries to vibrant outdoor landscapes, we help you discover the perfect plants, stylish planters, and expert care to bring every space to life.
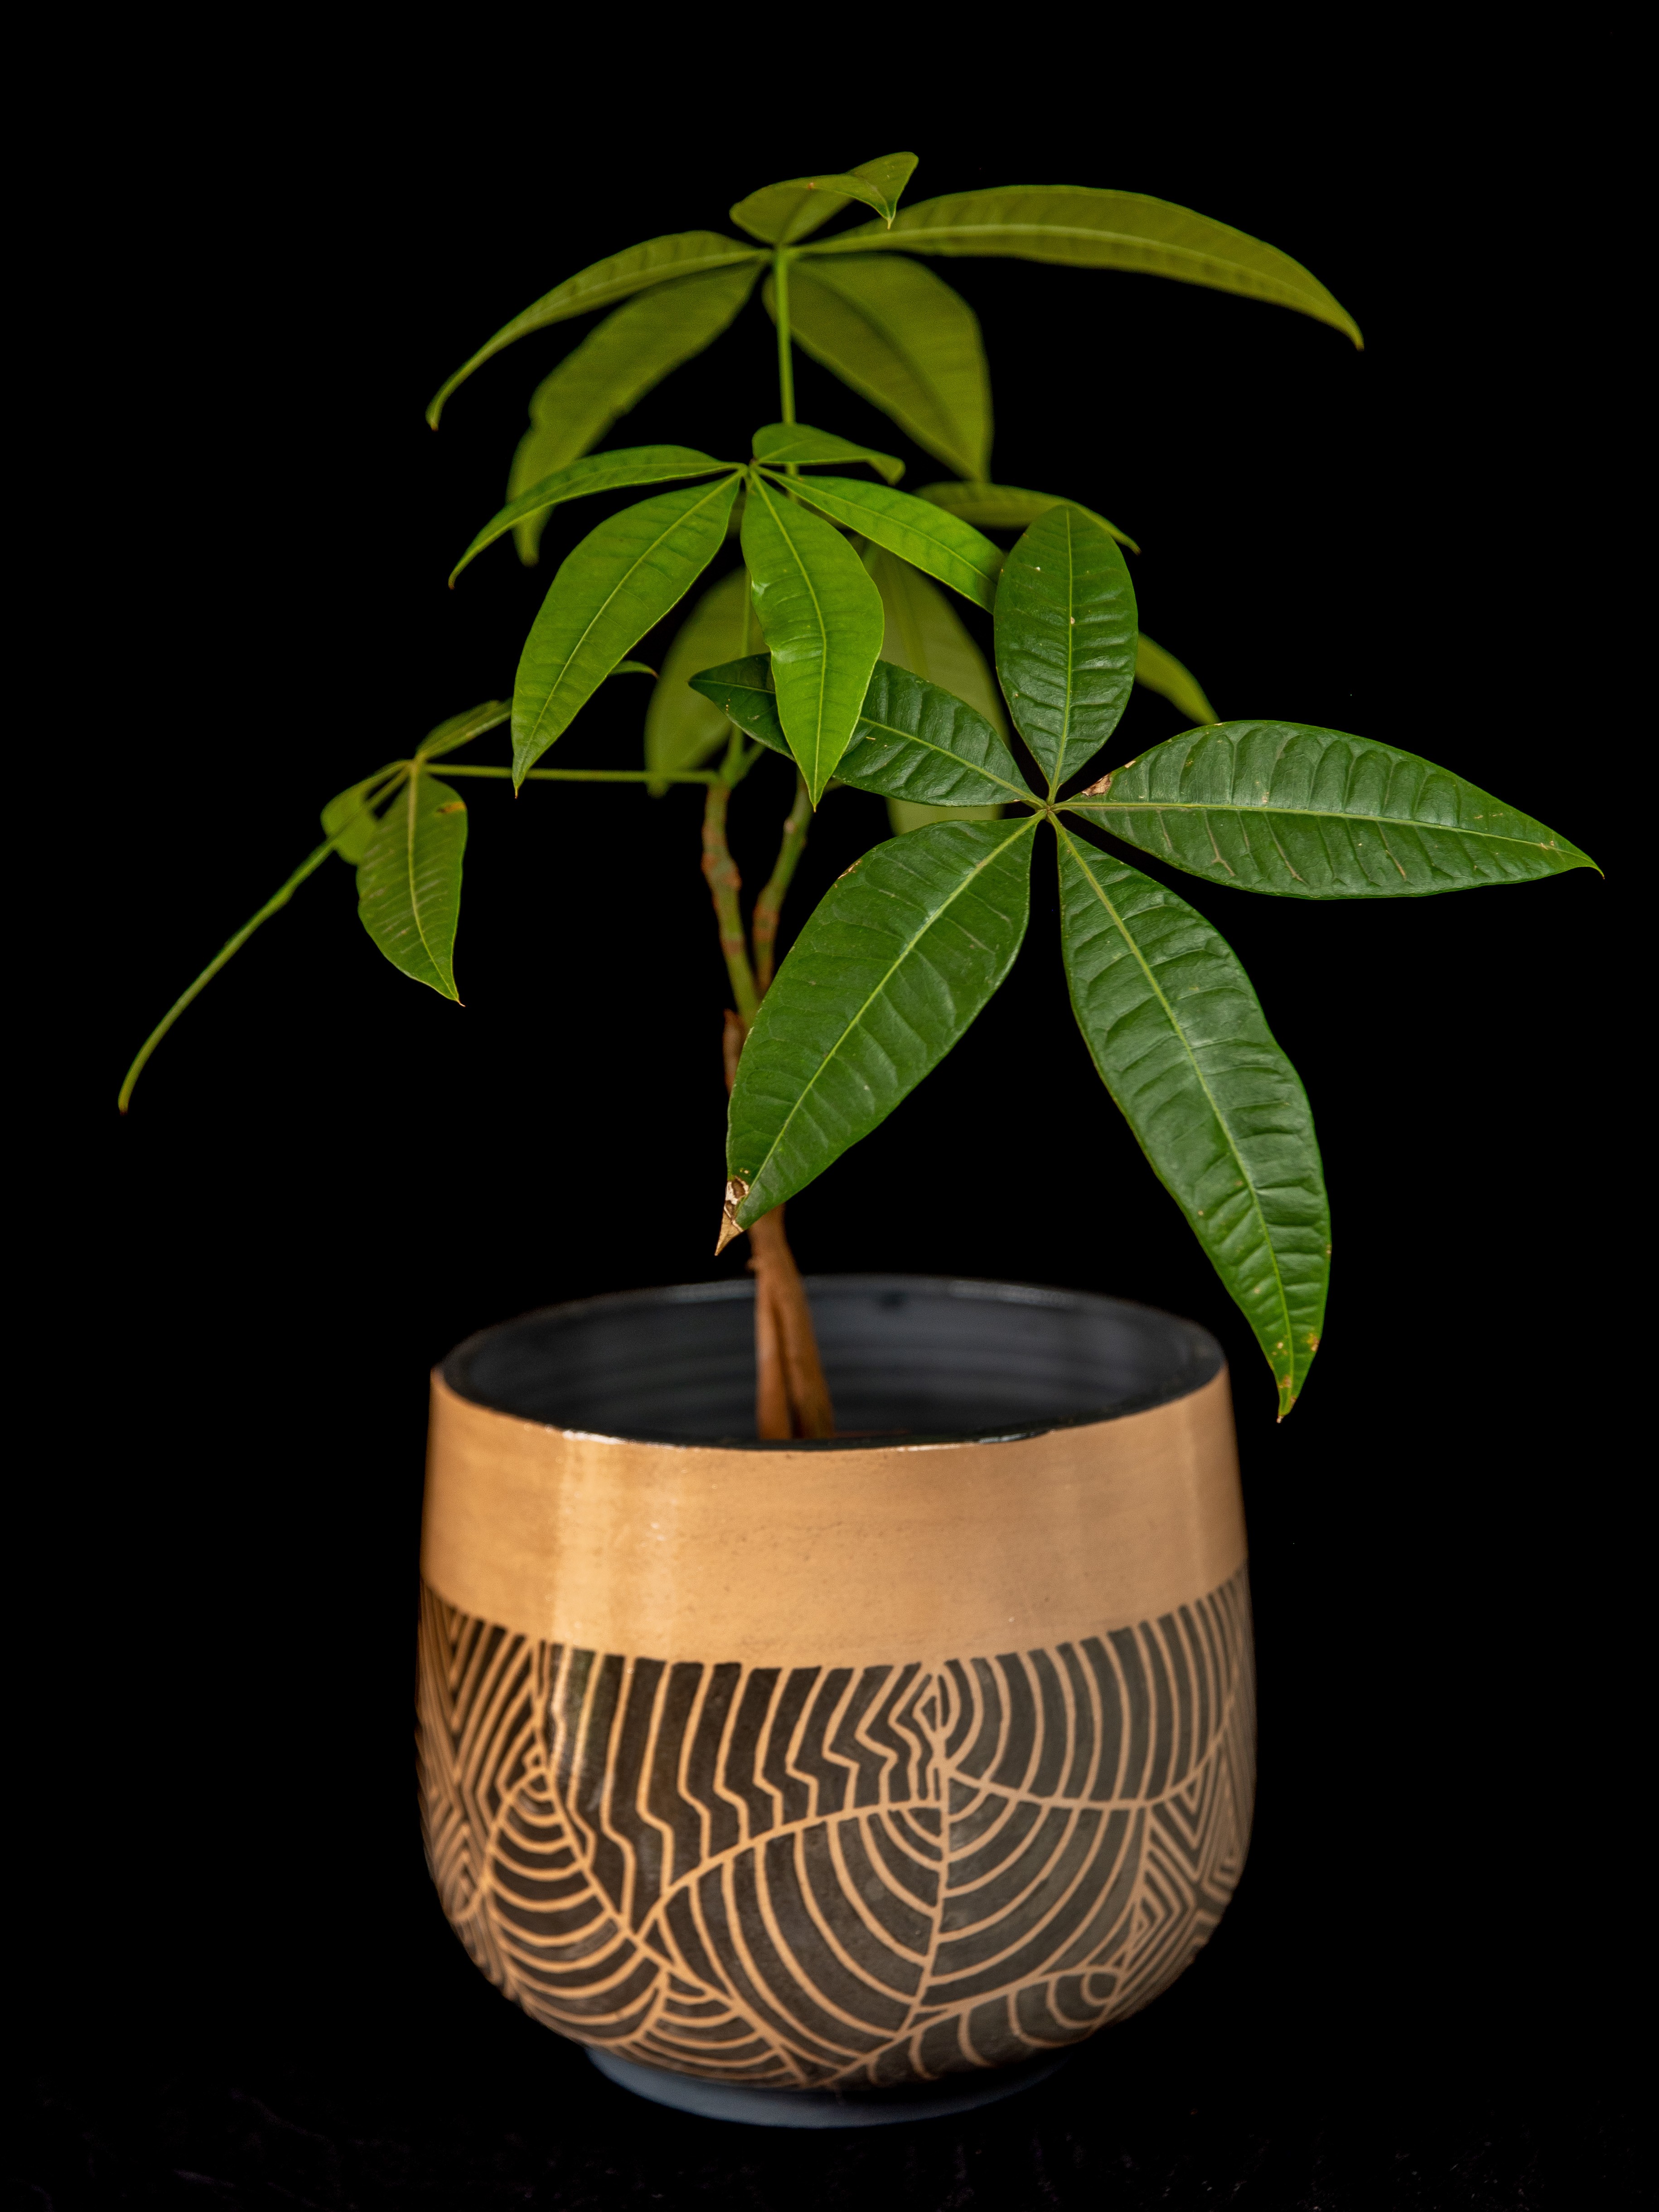
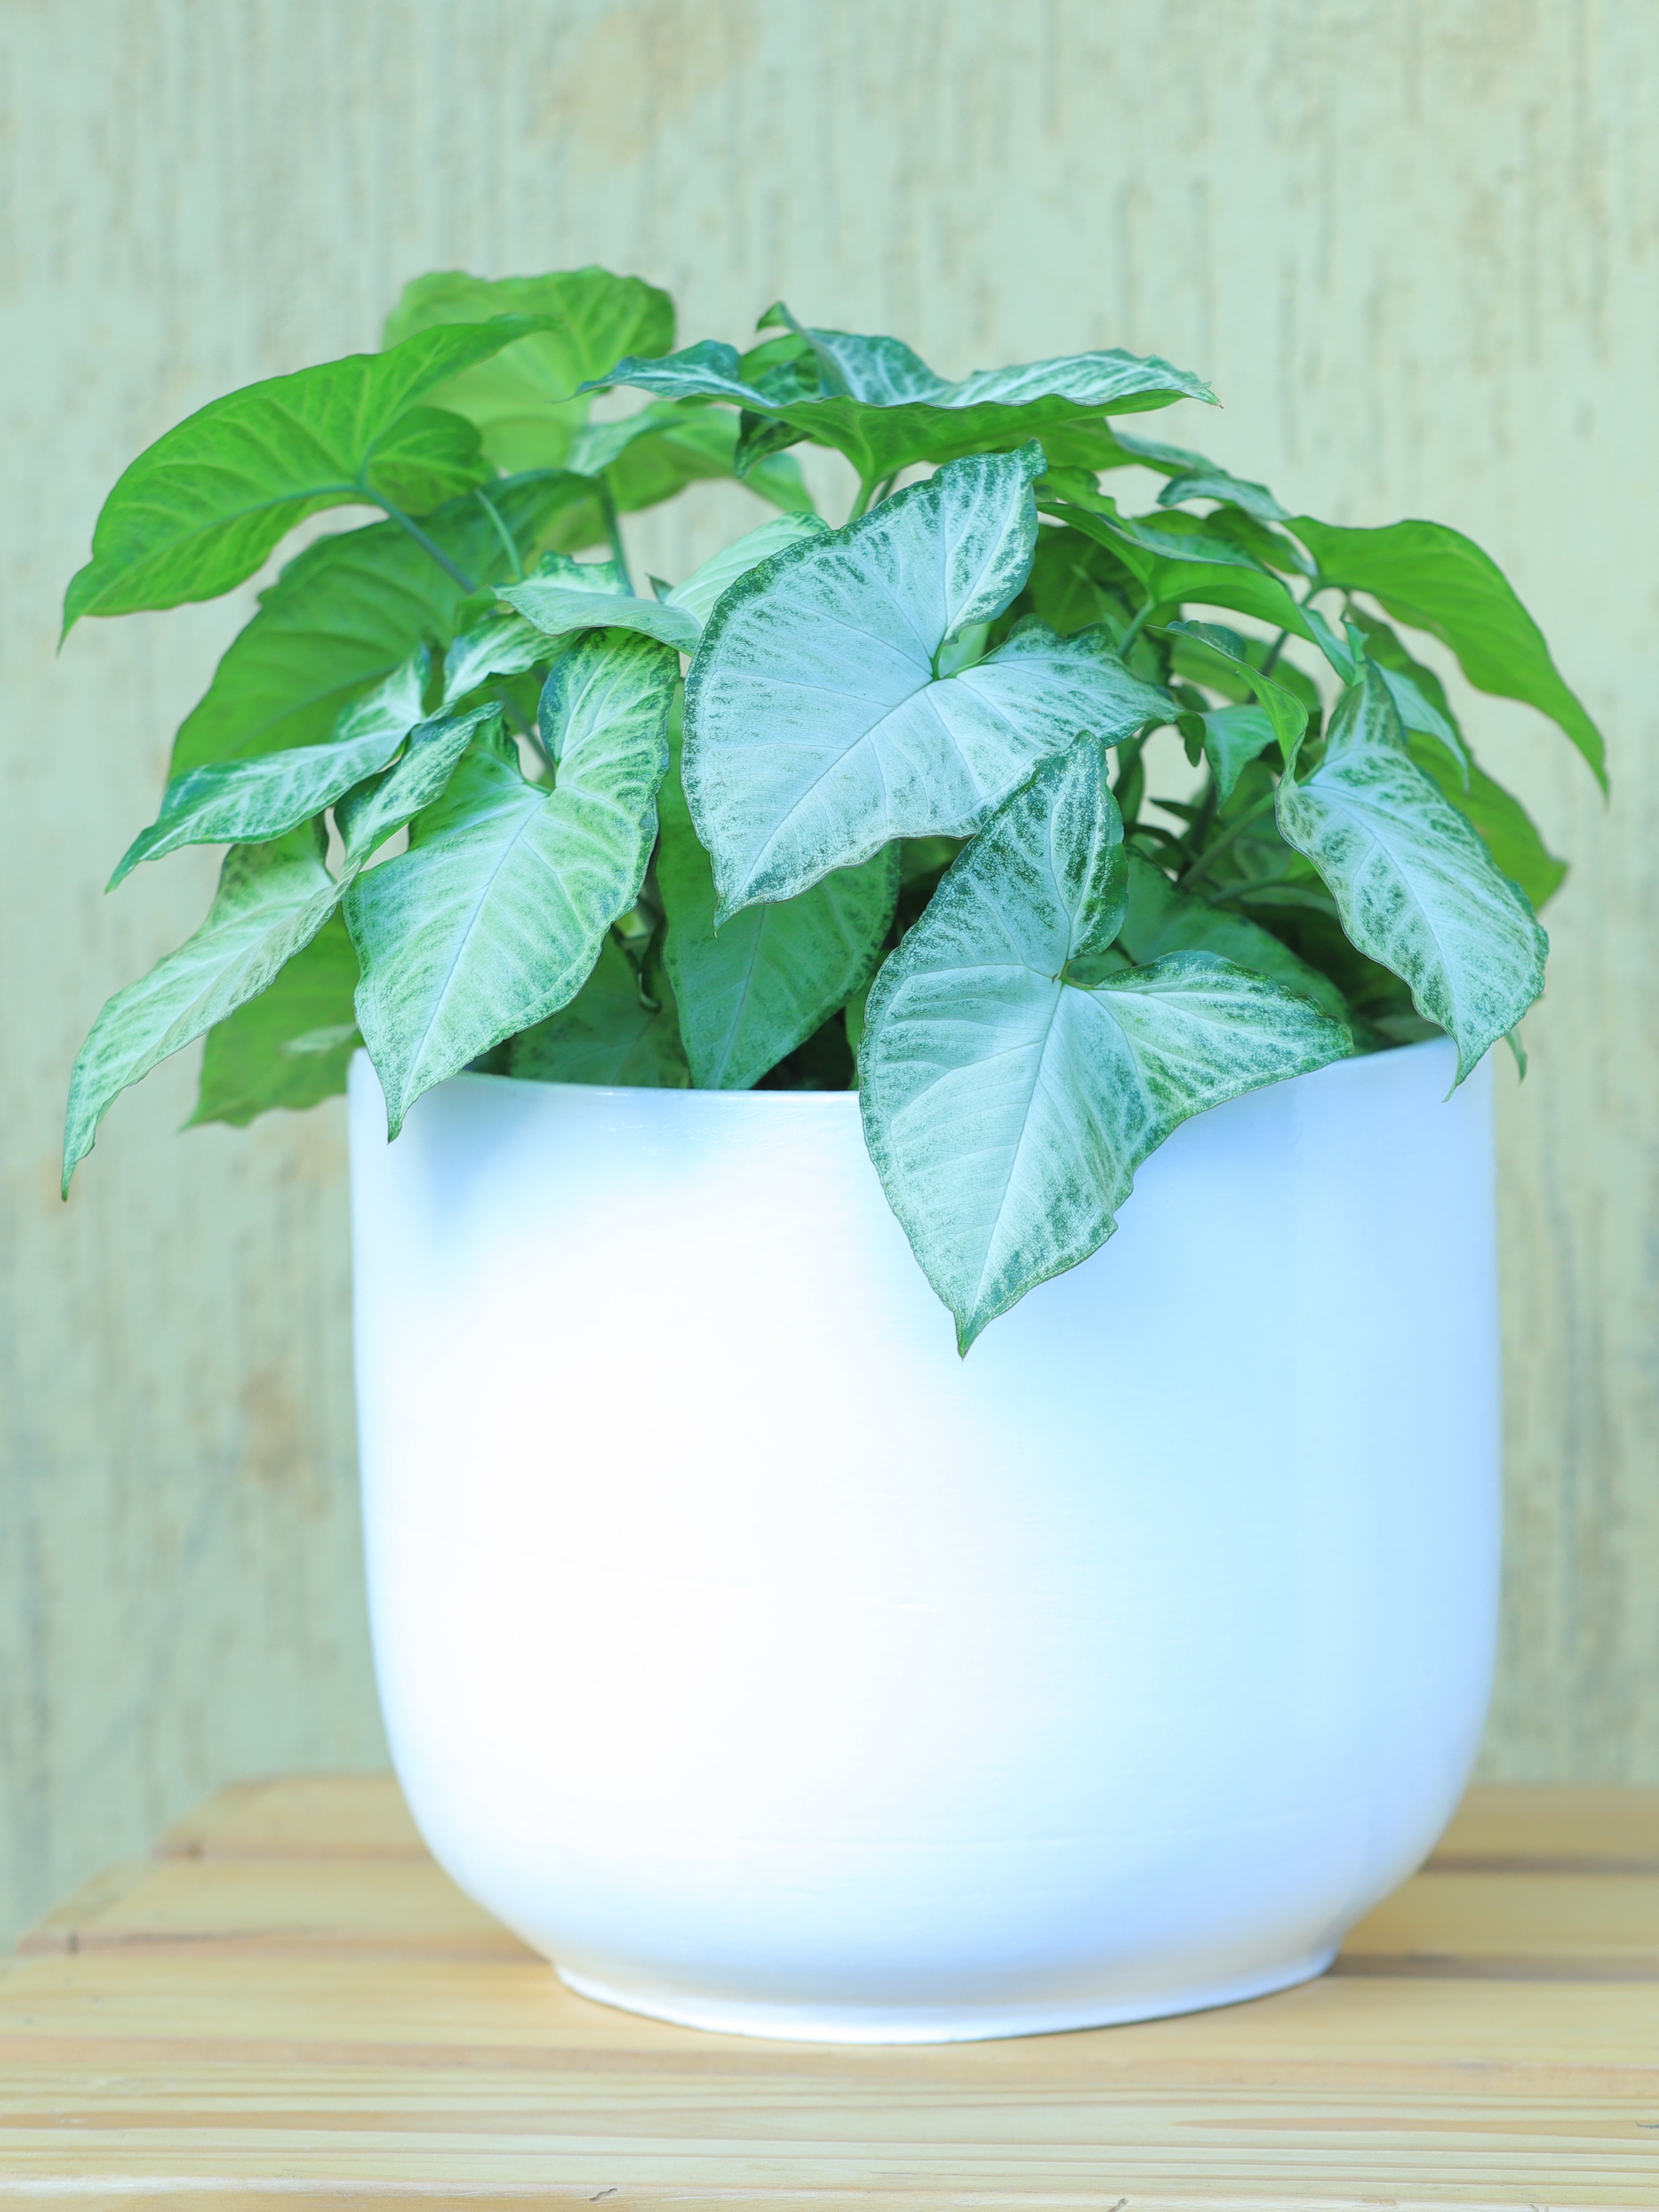
Large plant
Small plant
Planter
🌿
🍃
🌱

From site assessment to a
thriving, sustainable landscape.

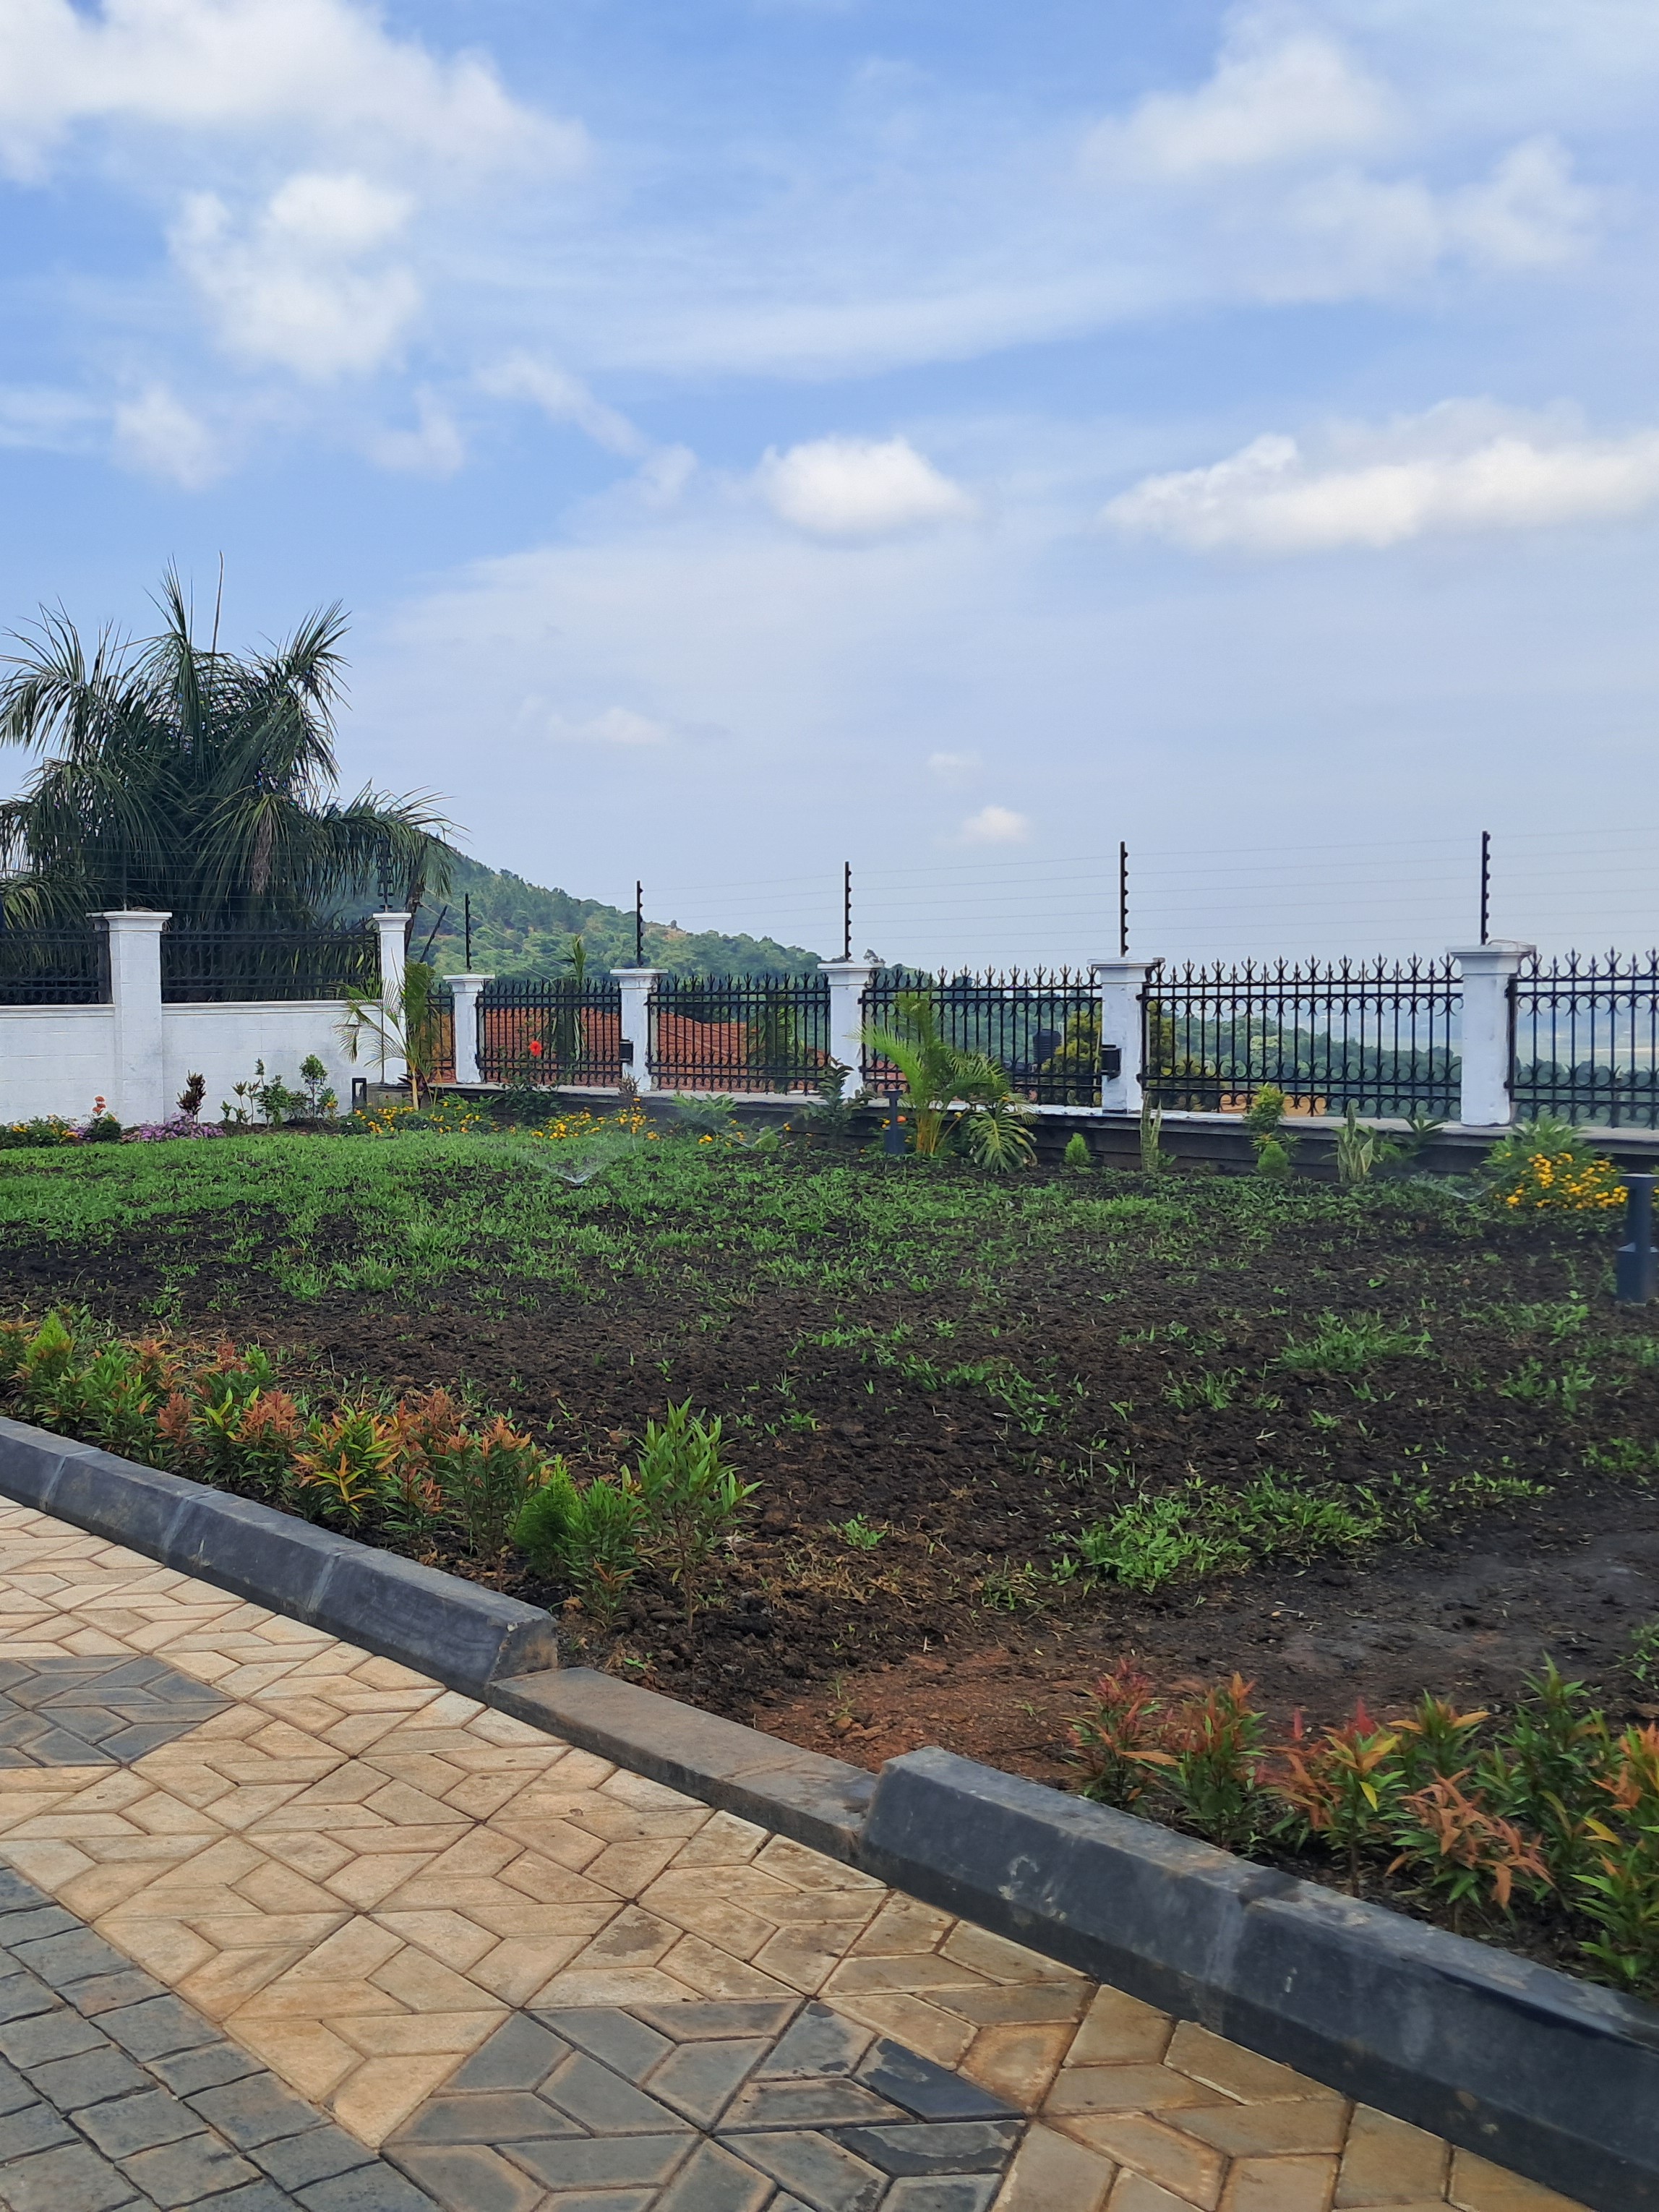
At Echovert Plantscapes, we take a thoughtful, nature-based approach to landscaping. Every project follows five key stages to ensure that each green space is carefully planned, properly installed, and given the support it needs to thrive.

Site Assessment
01

Site Assessment

Understanding your space.

We assess your site to understand its environmental conditions, including soil, sunlight, drainage, and existing vegetation. We also discuss your vision, needs, intended use of the space, and budget to establish the foundation for a landscape that works for you and your environment.

Design
02

Design

Planning a landscape that works with nature.

Using insights from the site assessment, we develop a customised landscape design that reflects your vision while considering plant suitability, functionality, aesthetics, sustainability, and ease of maintenance. Our designs aim to create beautiful, resilient green spaces that thrive in their specific environments.

Install
03

Install

Bringing your landscape to life.

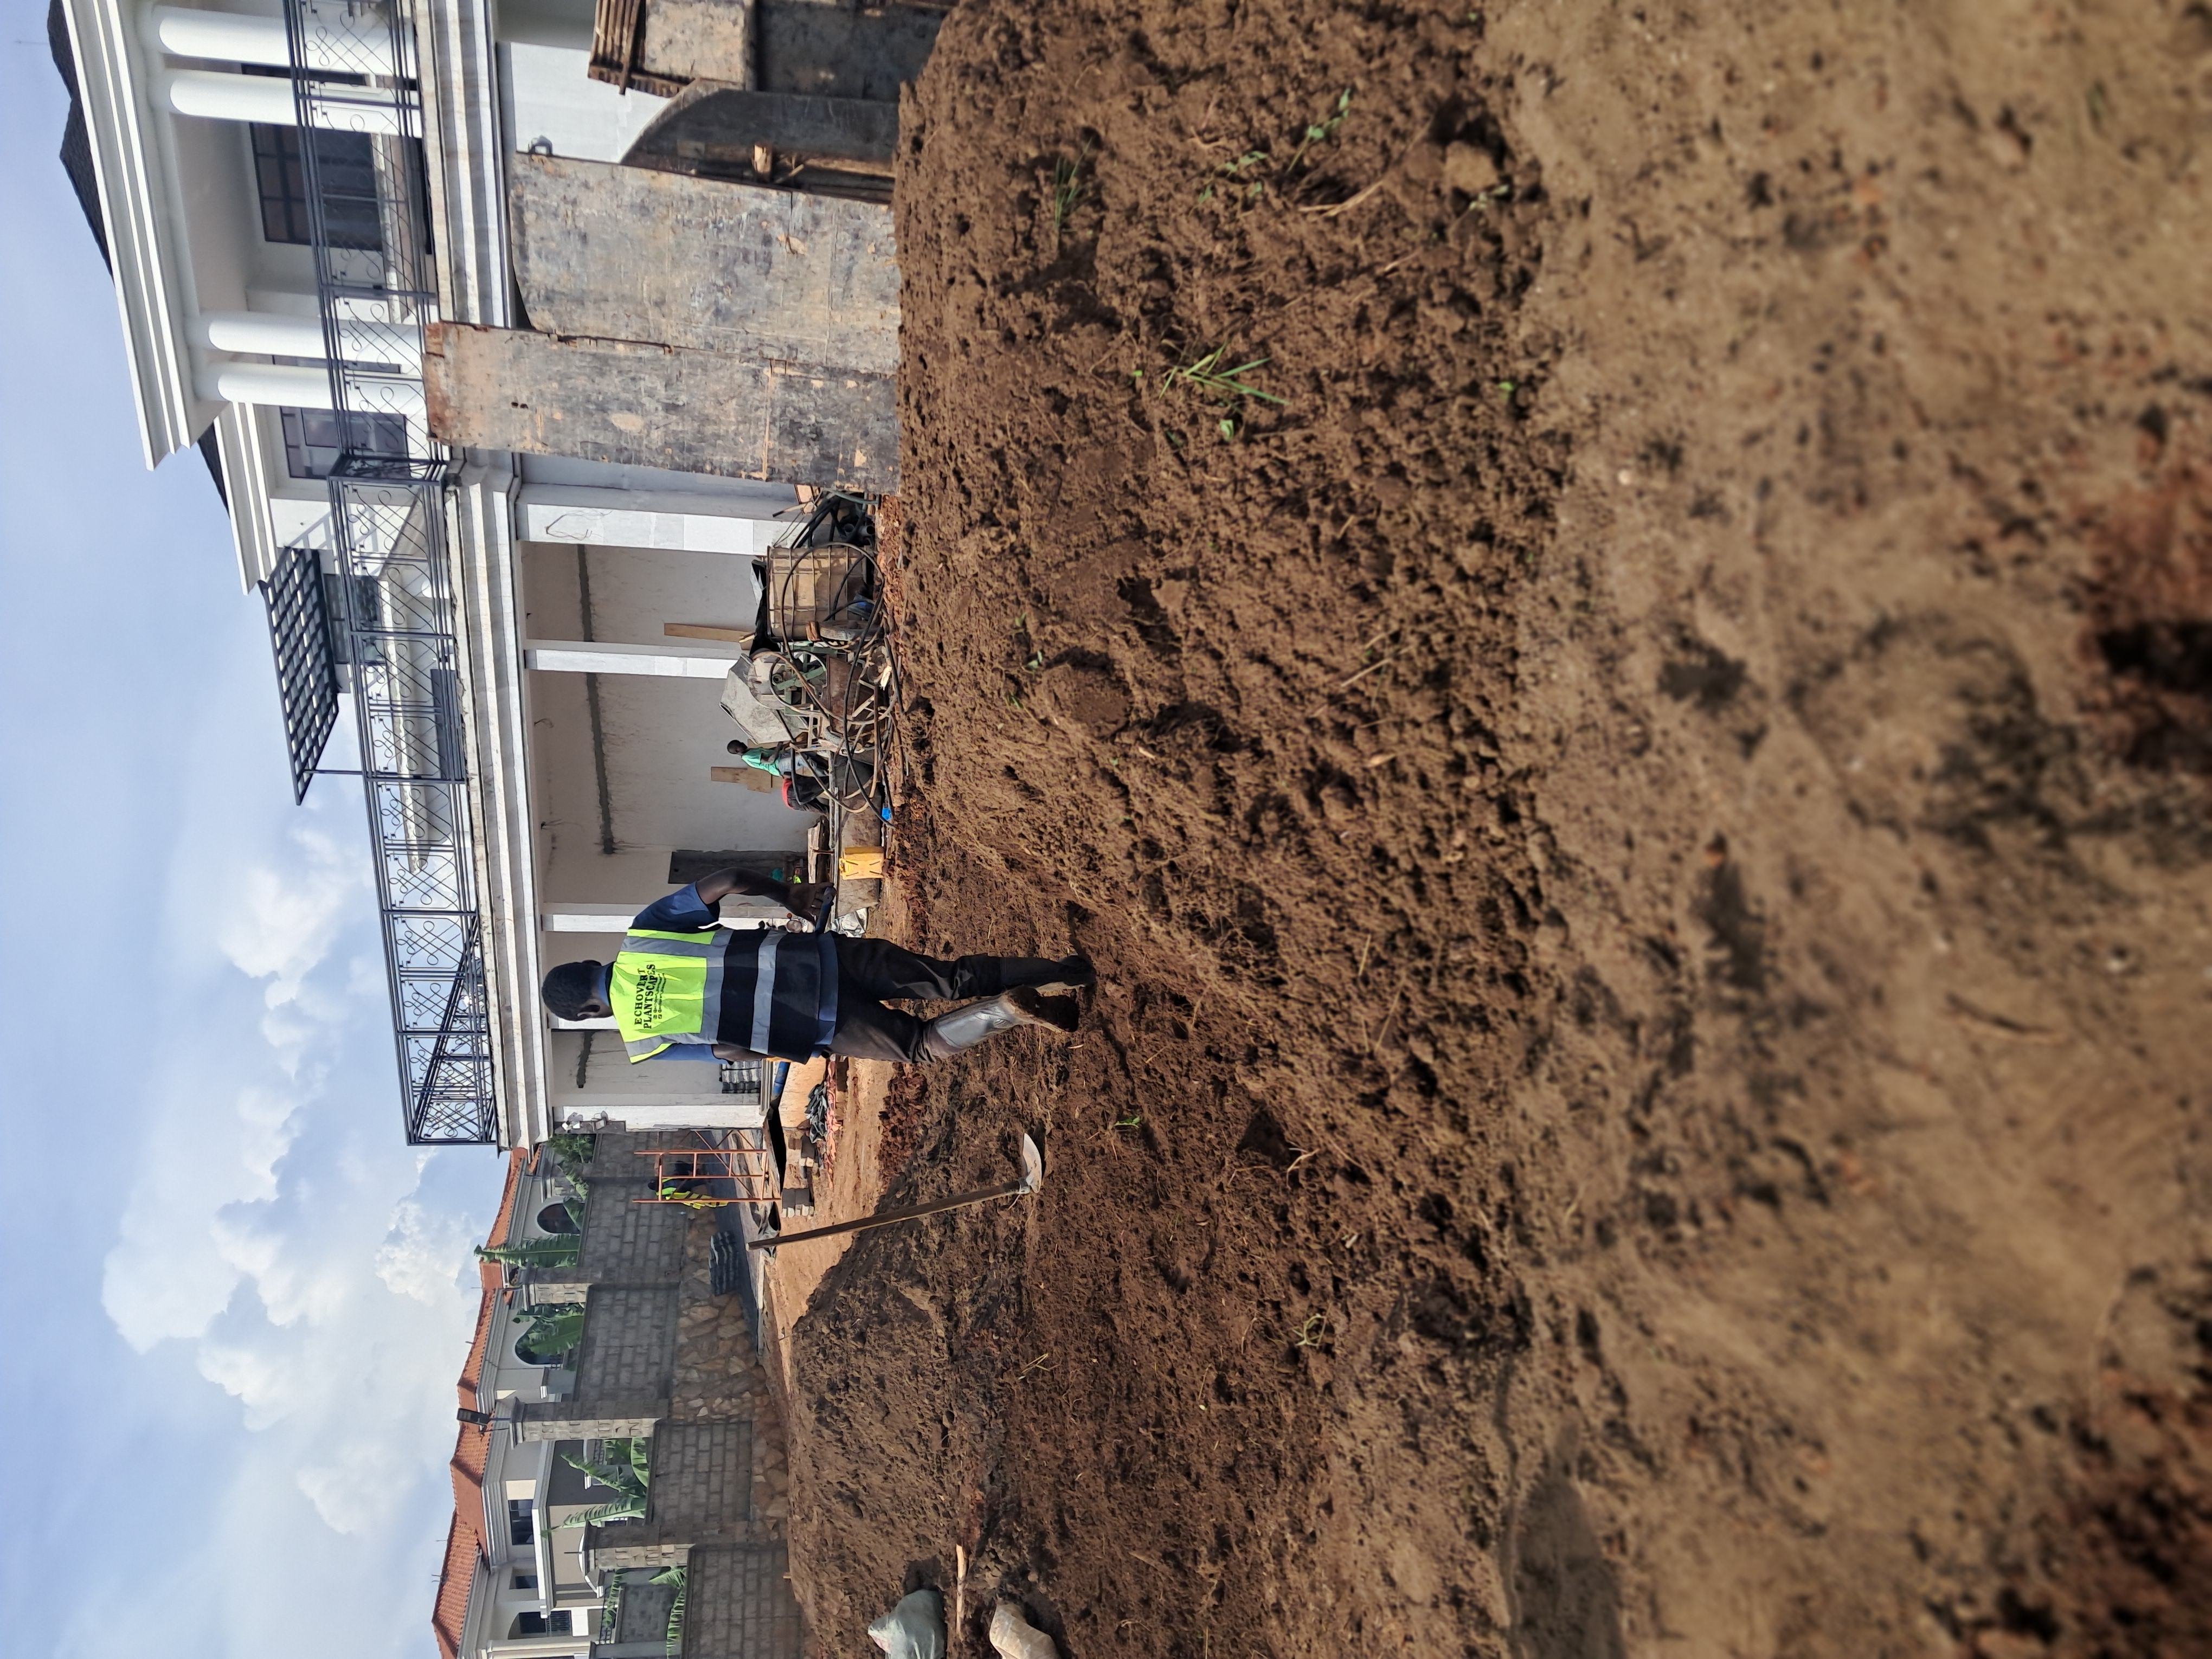
We prepare the site and implement the approved design, from soil preparation and appropriate plant selection to planting and installation of other landscape features. Every element is carefully placed to establish a healthy, functional, and visually appealing landscape.

Maintain
04

Maintain

Helping your garden thrive.

We provide practical guidance on the care and maintenance your garden needs to establish and flourish. Alternatively, you can contract our team to provide ongoing professional garden maintenance, ensuring your landscape receives the appropriate care as it grows.

Monitor and Evaluate
05

Monitor and Evaluate

Nurturing your garden towards successful handover.

For the first six months after installation, we monitor and evaluate the garden's establishment and performance. We assess plant health, growth, survival, and any emerging challenges, providing guidance and addressing issues where necessary. At the end of this period, we formally hand over the project to the client, with the garden established and the client equipped with the knowledge needed for its continued care.

The rhythm
of growing.

Plant care isn't complicated it's about observation and consistency. Use this seasonal care schedule and our FAQ to build your routine, and your plants will reward you with years of growth.

Task Frequency Indoor Outdoor Best Season
Watering Daily–Weekly Check soil moisture before watering Deep water 2–3× per week in dry season Year-round
Fertilizing Monthly Liquid feed during growth period Compost top-dressing + liquid feed Spring–Autumn
Pruning Seasonal Remove yellow leaves, shape as needed After flowering, remove dead wood After flowering
Repotting Every 1–2 years When roots circle pot bottom Not applicable (in-ground) Spring
Pest Inspection Weekly Check undersides of leaves Check new growth and stems Year-round
Mulching Seasonal Not usually needed 5–8cm organic mulch around base Before dry season
Cleaning Leaves Monthly Wipe with damp cloth to remove dust Rain usually handles this Year-round
Propagation Seasonal Stem cuttings in water or soil Division, layering, or seed Spring–Summer

It depends on the plant, pot size, and season. The golden rule: check the soil first. Stick your finger 5cm deep if it's dry, water thoroughly. If it's still moist, wait. Most indoor plants prefer to dry out slightly between waterings. Outdoor plants need more water in dry seasons and less in wet seasons.

Yellowing lower leaves usually mean overwatering the most common plant care mistake. Reduce watering frequency and ensure proper drainage. Yellowing upper leaves may indicate nutrient deficiency (add fertilizer) or too much direct sun. If leaves are yellow with green veins, it's likely an iron deficiency.

Repot when you see roots circling the bottom of the pot, growing out of drainage holes, or when the plant dries out very quickly after watering. Choose a pot only 5–8cm larger in diameter. Spring is the best time to repot because plants are entering their active growth phase.

Signs of too little light: leggy, stretched growth; small pale leaves; the plant leaning toward windows. Signs of too much light: scorched brown patches on leaves; faded or bleached colors. Most houseplants prefer bright, indirect light — a spot near a window where the sun doesn't hit the leaves directly.

Use a high-quality indoor potting mix — never garden soil, which compacts in pots and can harbor pests and diseases. For succulents, add extra perlite or pumice for drainage. For tropical plants, add orchid bark and charcoal for a chunky, well-aerated mix. Always use pots with drainage holes.

For aphids and mites, spray plants with a strong blast of water. For mealybugs, dab with a cotton swab dipped in rubbing alcohol. Neem oil spray works as a broad-spectrum natural pesticide. For fungus gnats, let soil dry out between waterings and use yellow sticky traps. Always isolate affected plants from healthy ones.

Need help choosing
the right plants? We're here.

From a single potted plant to a full landscape design our plant experts will help you find the perfect green companions for your space.

Get Plant Advice